Tutorial
How to Use ChatGPT for Beginners
The complete beginner's guide to ChatGPT - from your first conversation to advanced techniques that will transform how you work and learn.
Read →Tutorial
The complete step-by-step guide to installing Claude Code on macOS, Windows, or Linux — written for non-developers, with every prerequisite explained in plain English.

Trying to set up Claude Code but getting stuck on terms like "terminal," "Node.js," or "npm"? You're not alone. Anthropic's official docs are great — if you're already a developer. If you're not, they skip the steps you actually need, and that's where most people get stuck.
This guide fixes that. We'll go from "I don't even know what a terminal is" to "Claude Code is running in my project" in about 15–20 minutes. No prior coding experience required — we'll explain every concept as it comes up, and every command is copy-paste ready.
"The hardest part of using AI coding tools isn't the code — it's the install."
Did You Know? Claude Code used to require Node.js to install — a common reason setup tripped up non-developers. In early 2026, Anthropic shipped a native installer that needs no dependencies at all. If you read an older guide that asked you to install Node first, you can skip that step entirely. The new installer does everything for you. Less to learn, fewer things to break.
A short checklist so nothing derails you mid-install.
You need:
You do NOT need:
A tiny bit of vocabulary before we start:
That's all the jargon you need. Let's go.
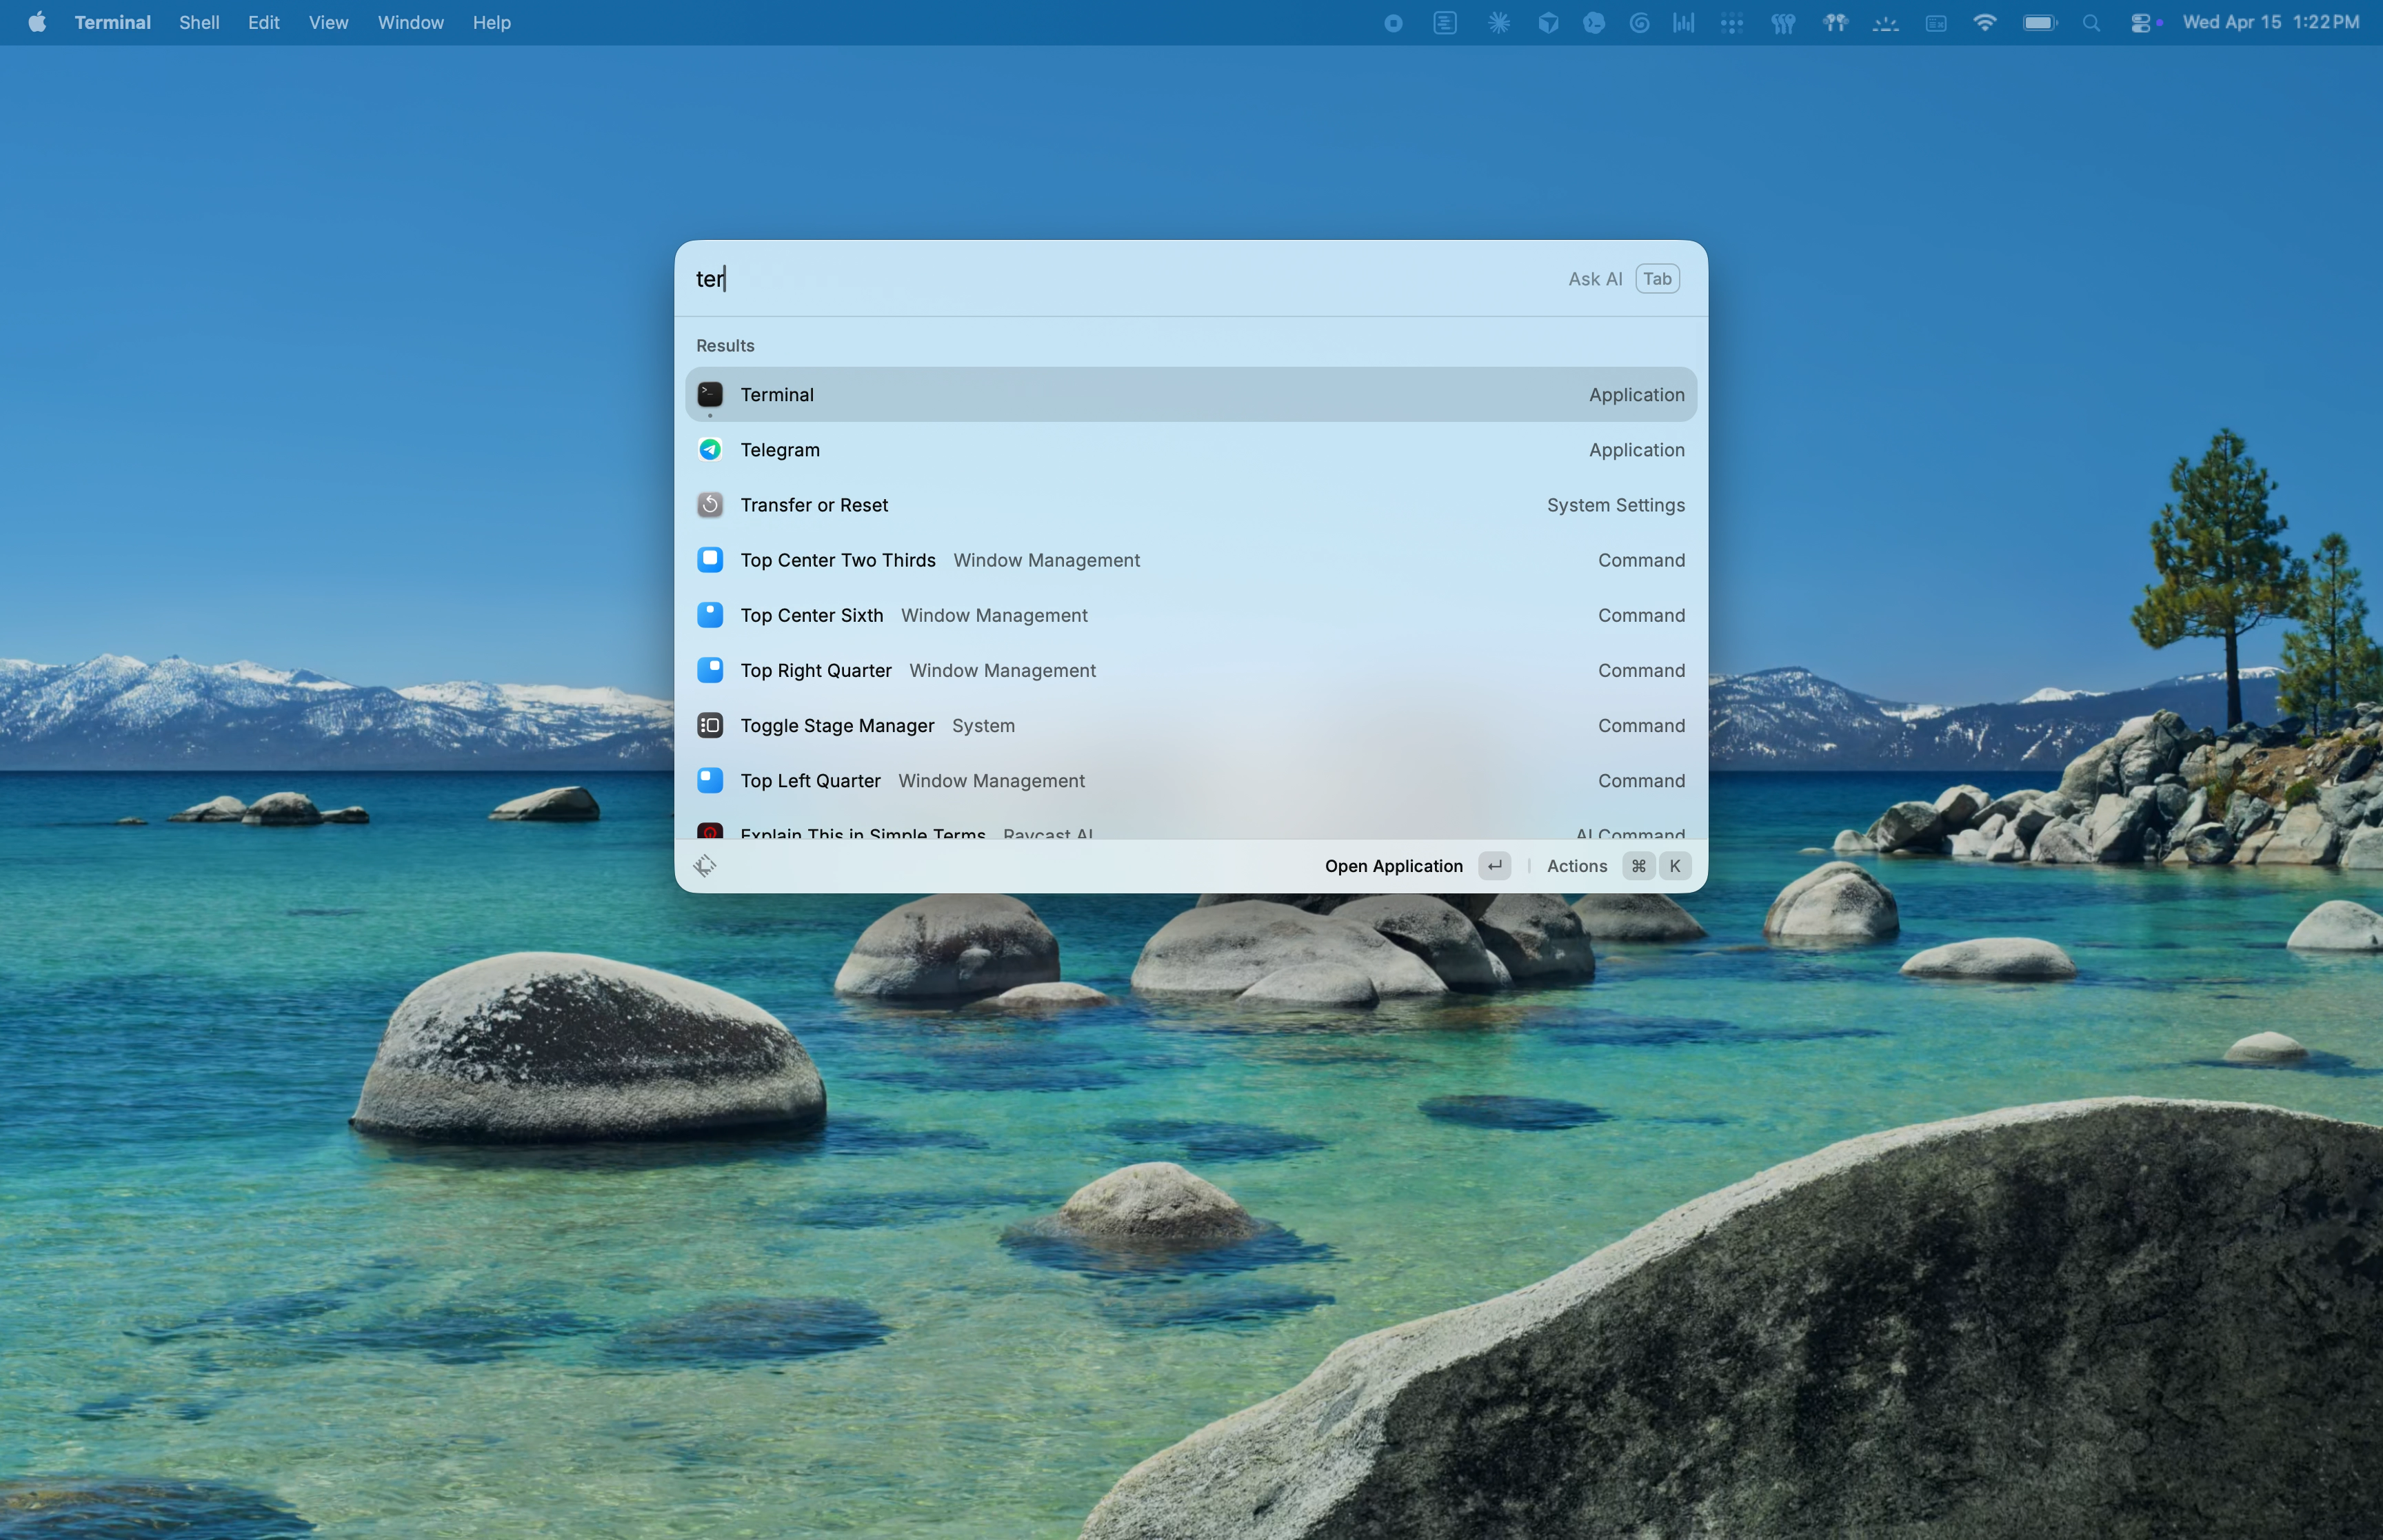
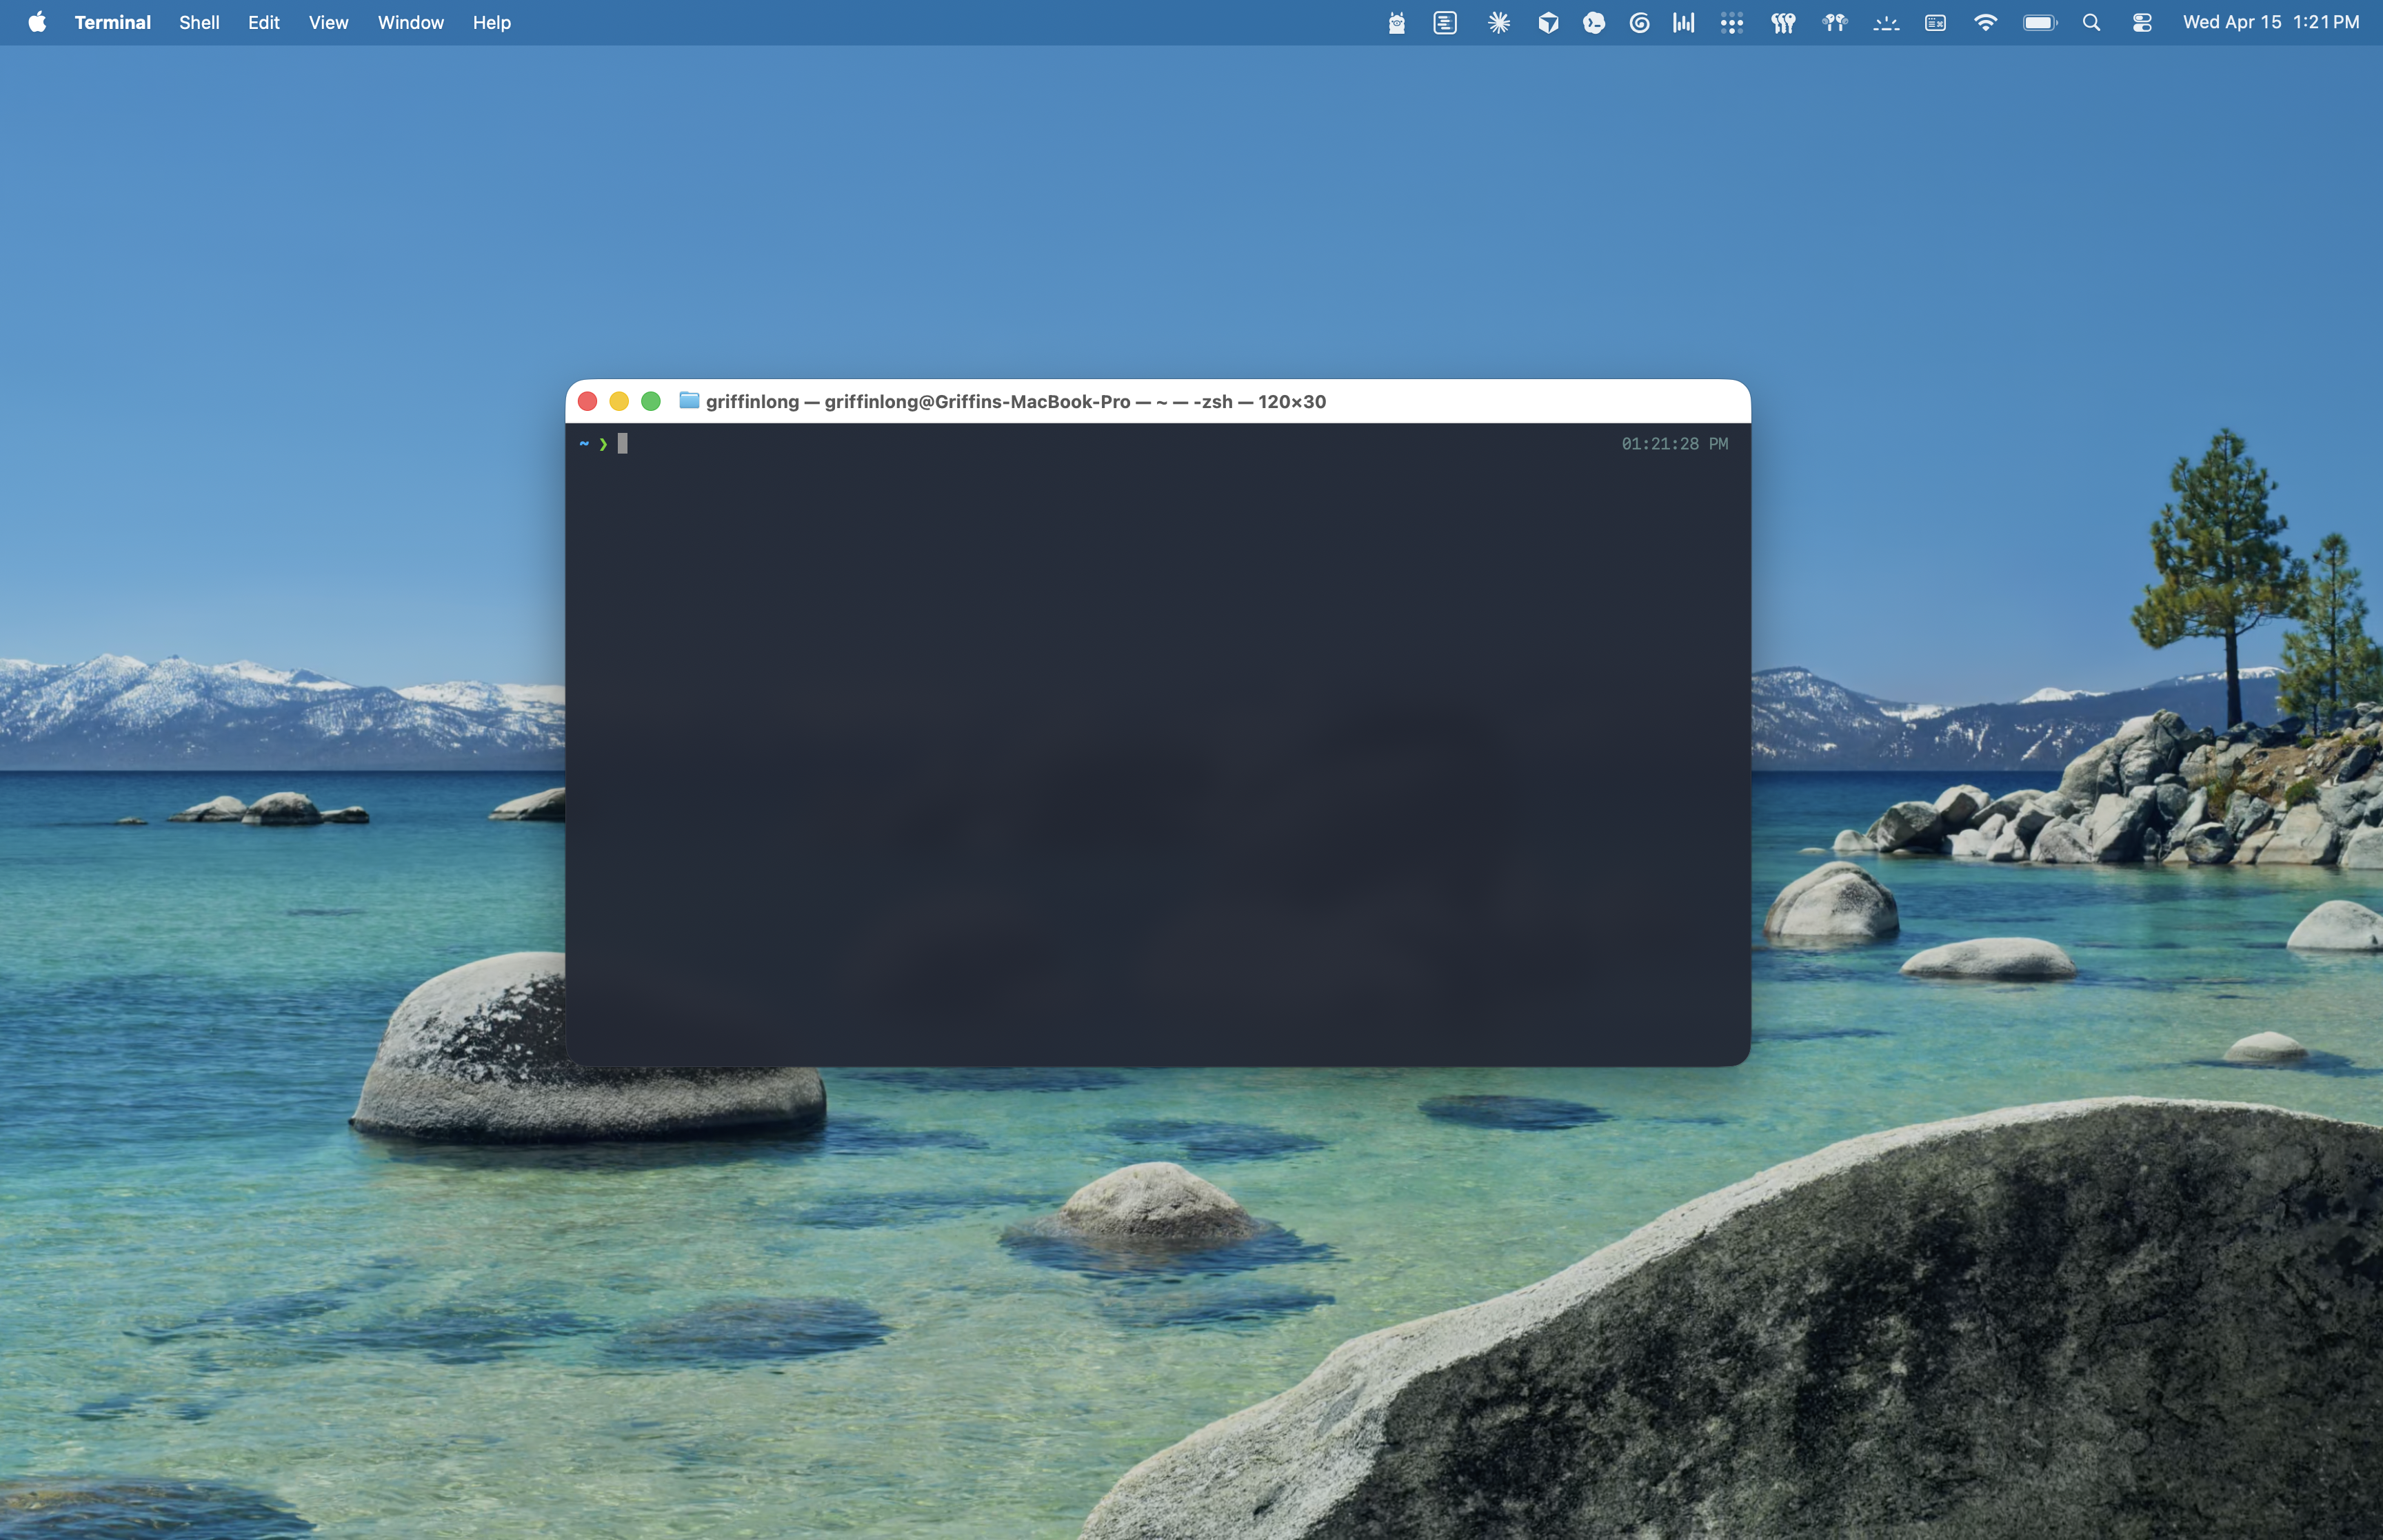
Every step that follows happens in a terminal window. Here's how to open one.
Press Cmd+Space to open Spotlight, type Terminal, and press Enter. A window opens with a blinking cursor — that's your prompt.
Click the Start menu, type PowerShell, and click Windows PowerShell. You want PowerShell, not "Command Prompt" — they're similar, but PowerShell is the modern one, and the commands in this guide assume it.
Press Ctrl+Alt+T. Or open the Activities menu and search for "Terminal."
When the rest of this guide says "run this command," here's what to do:
That's the entire workflow. You never have to memorize a command — copy and paste works forever.
Cursor is a free code editor built around AI. It's a fork of the popular VS Code editor with Claude- and GPT-powered features baked in, which makes it the natural pairing for Claude Code. Cursor gives you a file browser, a built-in terminal, and AI-assisted editing in one window — you won't need to juggle multiple apps.
Note: If you already use VS Code and want to stick with it, the rest of this guide works there too — VS Code has the same integrated terminal shortcut and feels nearly identical. For a first-time user, we recommend Cursor.
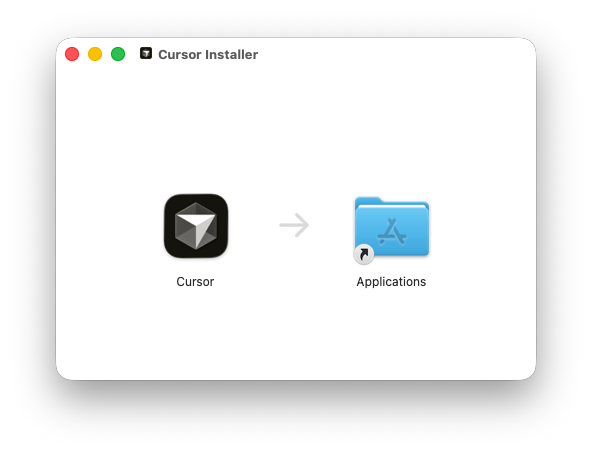
Go to cursor.com/download and grab the version for your OS.
Open the downloaded .dmg file and drag the Cursor icon into your Applications folder. Open Cursor from Applications (or Spotlight).
Run the downloaded .exe installer and click through the defaults. When it finishes, Cursor opens automatically.
Download the .AppImage file. Right-click it, choose Properties → Permissions, and check "Allow executing file as program." Then double-click the file to run Cursor. If it fails to launch, install the libfuse2 library first:
sudo apt install libfuse2
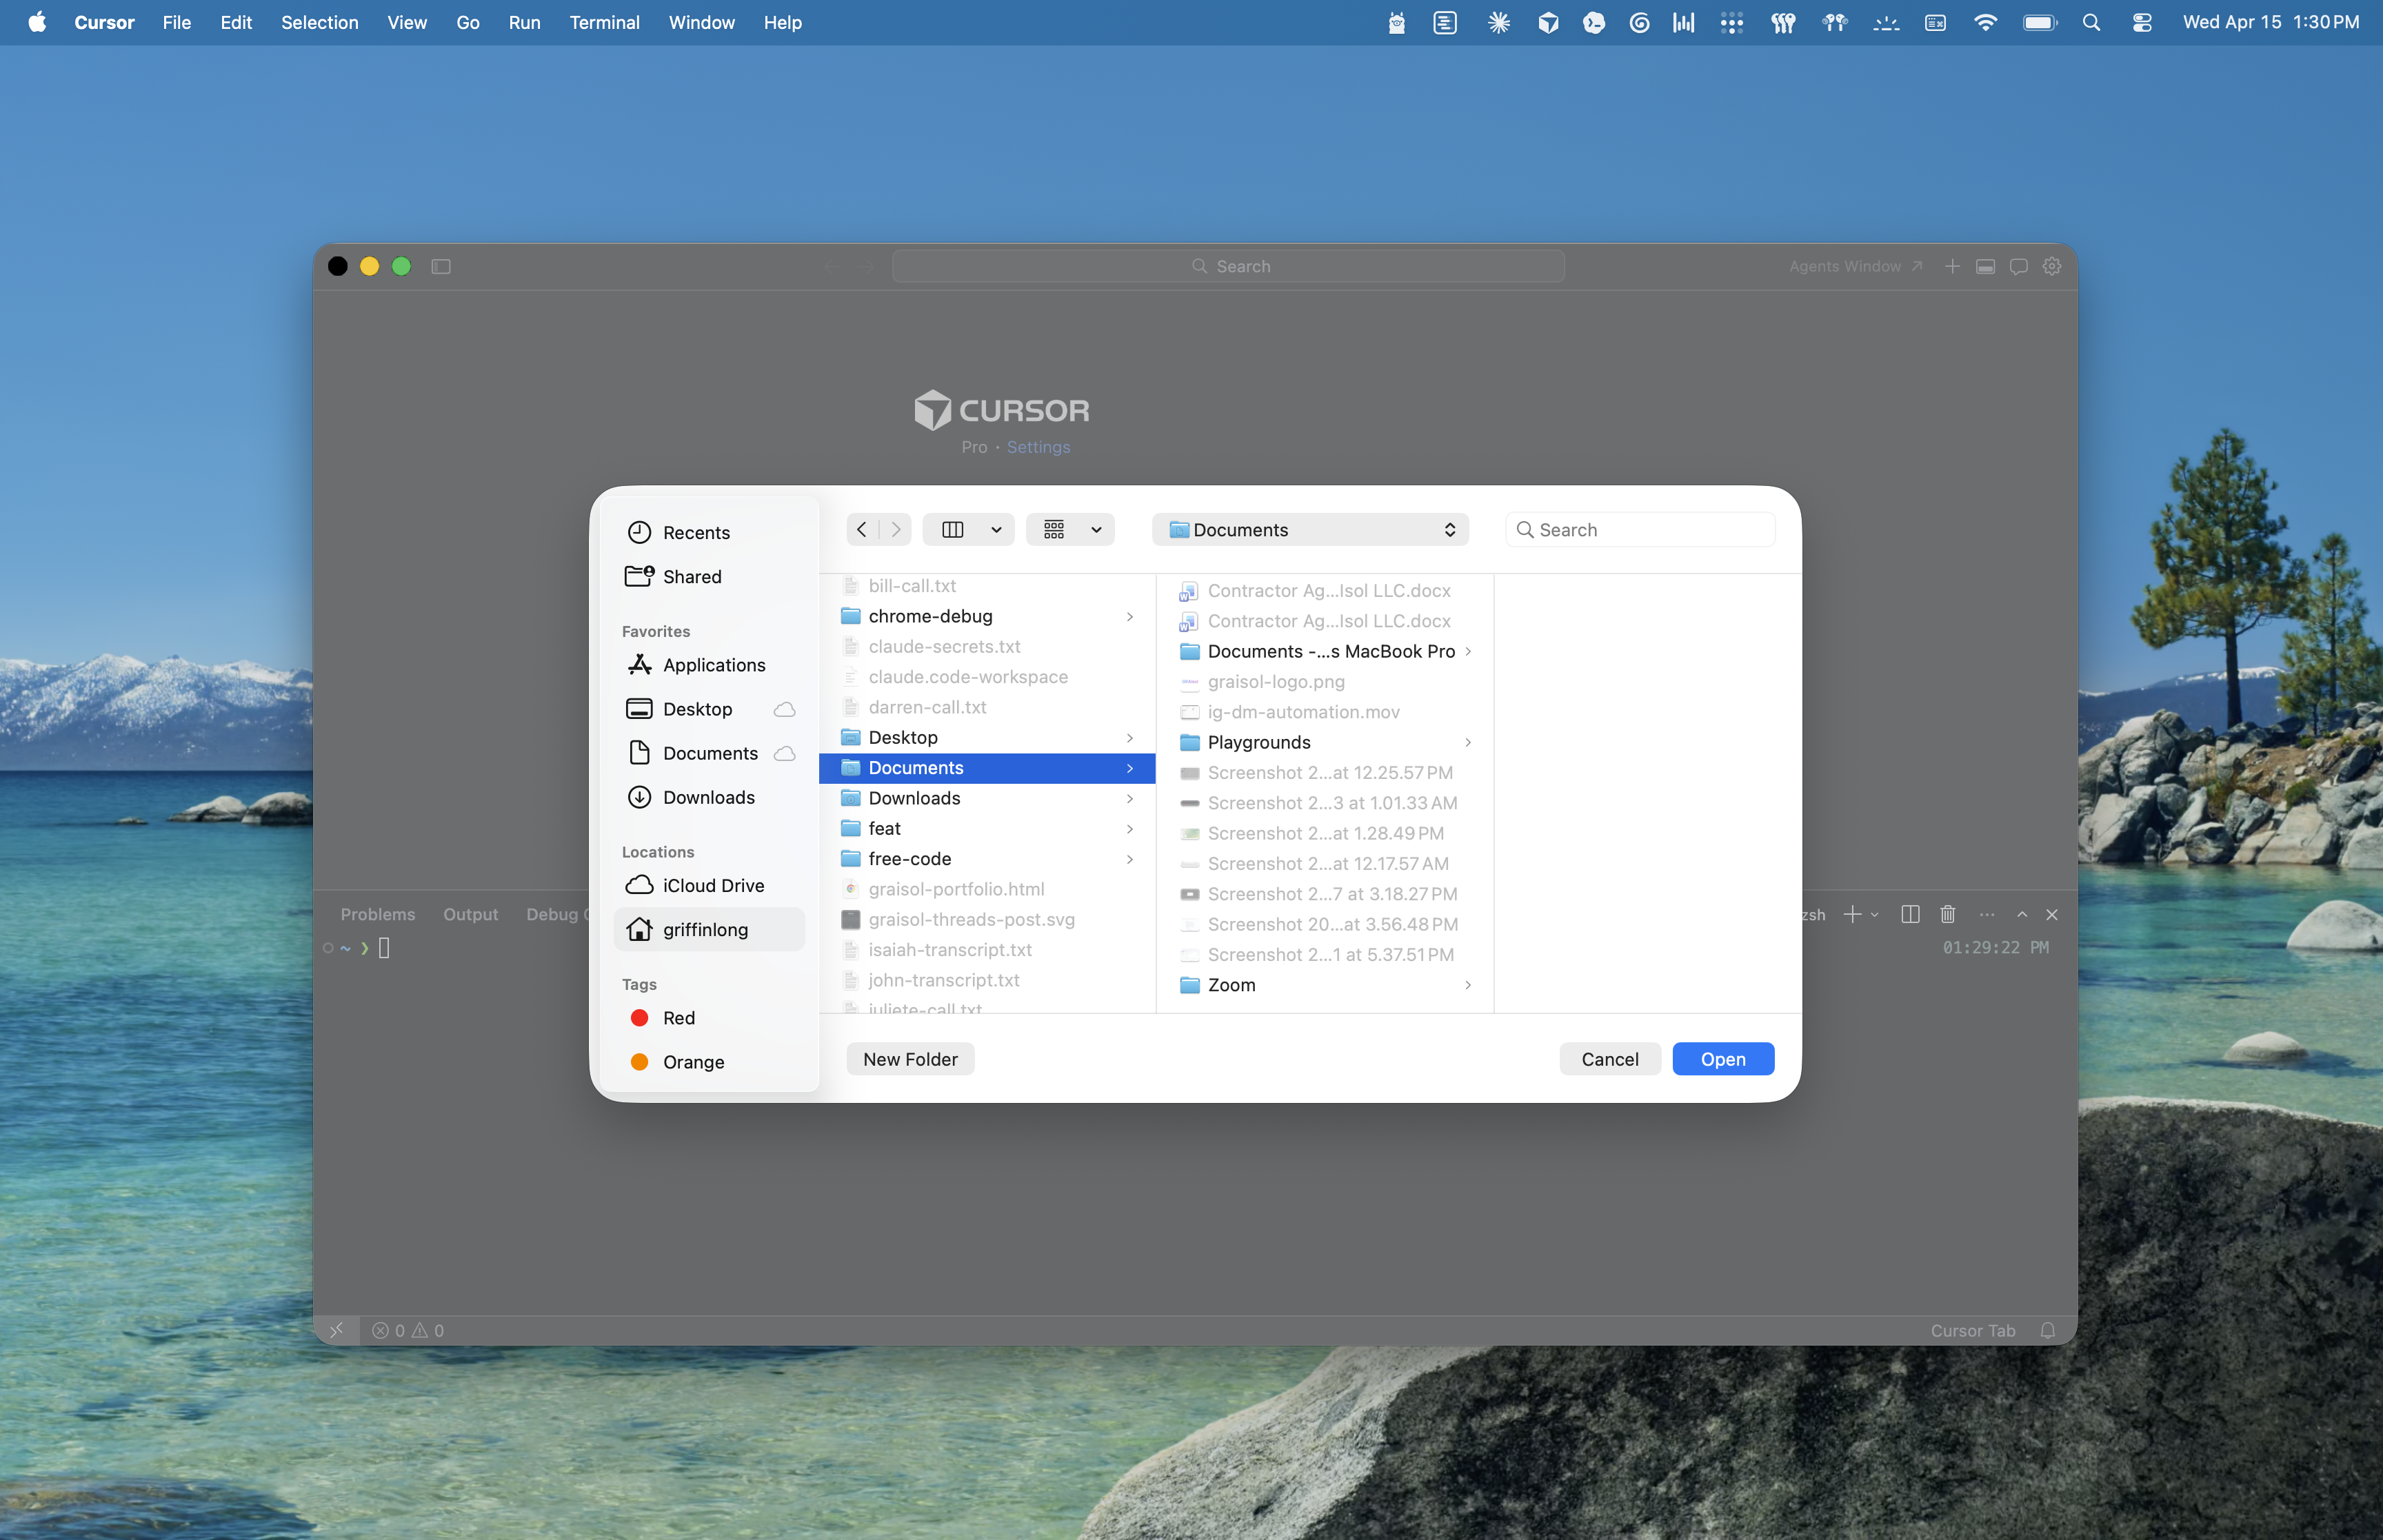
Once Cursor is running, go to File → Open Folder and pick any folder on your computer. If you don't have one in mind, your Documents folder works perfectly. This folder is what Claude Code will treat as your "project."
Press Cmd+J (macOS) or Ctrl+J (Windows/Linux). A terminal pane slides up from the bottom of the Cursor window. If the keyboard shortcut doesn't work for some reason, you can also open it from the menu bar: Terminal → New Terminal.
Why use Cursor's built-in terminal instead of the system one? Because it's already pointed at your project folder. You won't need to navigate anywhere — you can just start running commands and they'll apply to the folder you opened. For the rest of this guide, when we say "in your terminal," you can use either the system terminal or Cursor's built-in one.
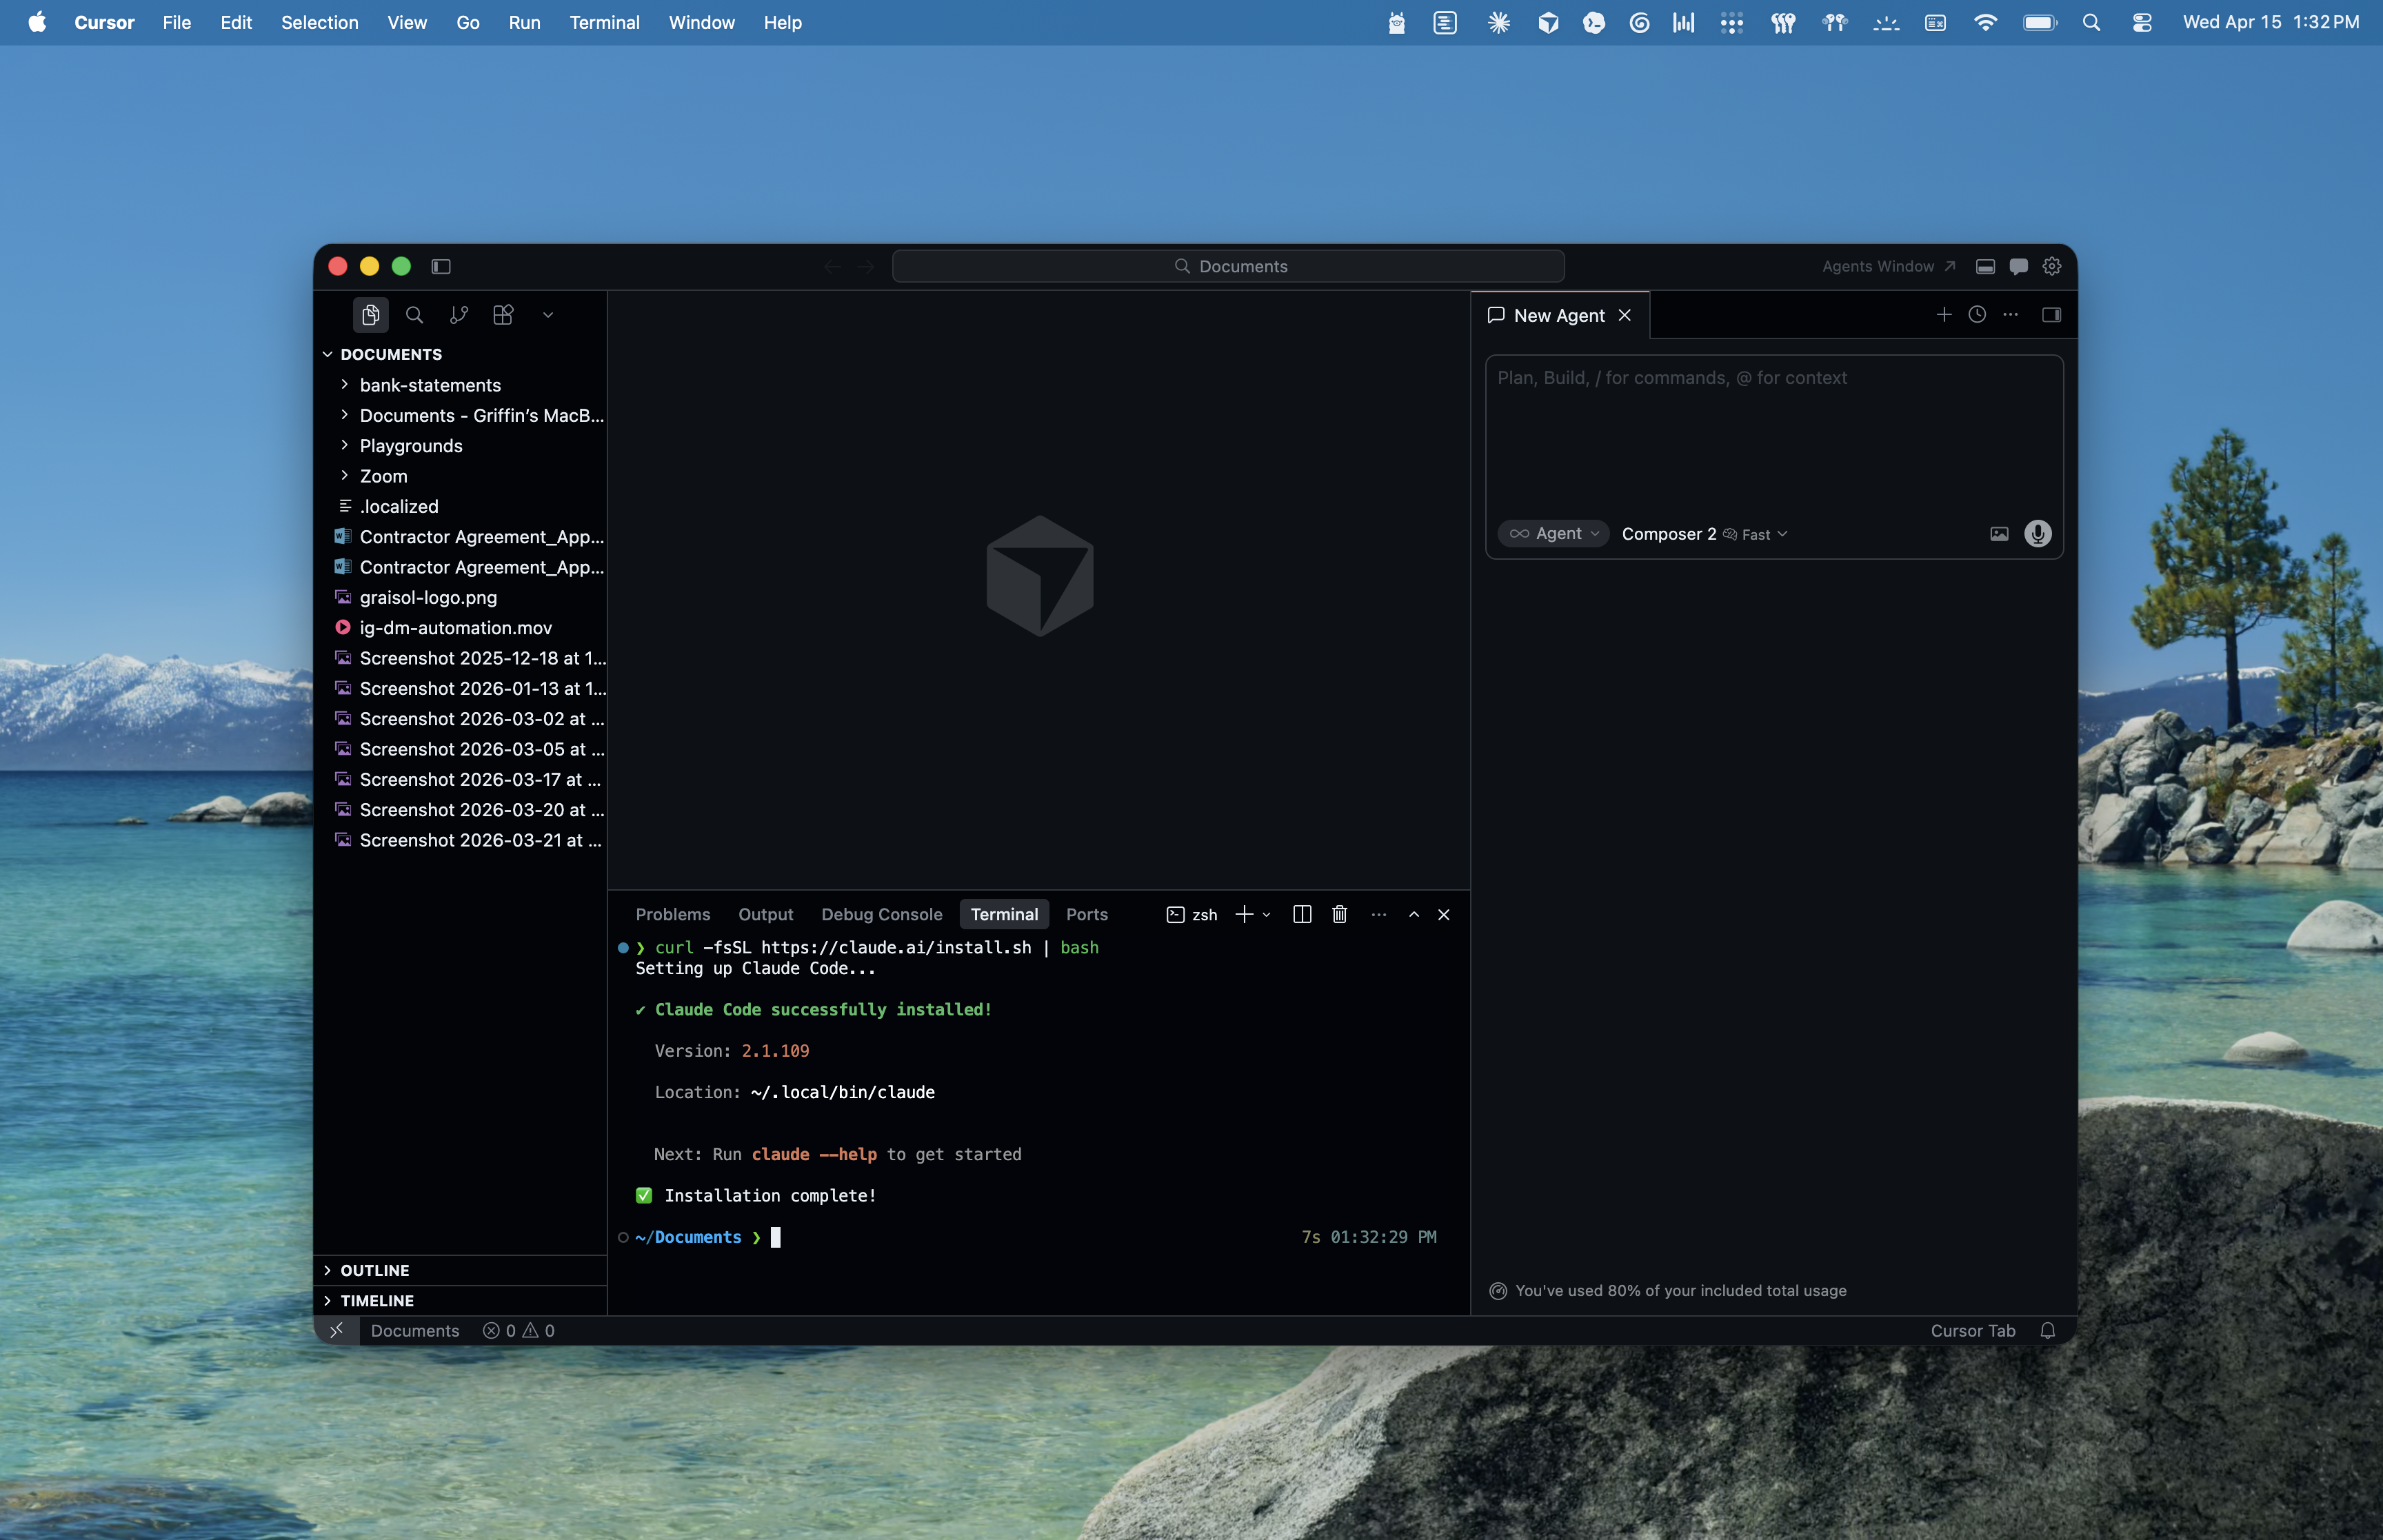
This is the main event, and it's simpler than you'd expect. Anthropic ships a one-line installer that handles everything — no Node.js, no npm, no PATH configuration.
In your terminal, paste this and press Enter:
curl -fsSL https://claude.ai/install.sh | bash
In PowerShell (or Cursor's built-in terminal on Windows, which is PowerShell by default), paste this and press Enter:
irm https://claude.ai/install.ps1 | iex
The installer runs for about 30 seconds, prints progress as it works, and tells you when it's done.
Type this and press Enter:
claude --version
You should see a version number like 1.x.x. If you do, you're good — skip to Step 4.
If you get "command not found" or "not recognized as the name of a cmdlet," don't panic. This is the most common hiccup, and the fix is almost always:
Close your terminal completely, then open a new one, then try claude --version again.
The installer updates a setting your terminal only reads when it starts, so existing windows don't know about the new command yet. A fresh window sees it instantly. If it still fails after a fresh window, jump to the Troubleshooting section.
If you prefer package managers, these also work:
brew install --cask claude-codewinget install Anthropic.ClaudeCodenpm install -g @anthropic-ai/claude-code (Anthropic has marked the npm method as deprecated, but it still works as of April 2026.)All four methods install the same tool. Pick whichever feels most comfortable.
Now for the satisfying part.
If you're using Cursor's built-in terminal and you opened a folder in Step 2, you're already in the right place — skip this. Otherwise, tell your terminal which folder to treat as your project:
macOS / Linux:
cd ~/Documents
Windows (PowerShell):
cd $HOME\Documents
cd stands for "change directory" — you're telling the terminal "switch to this folder." Any command you run after this will apply to files in that folder.
Type:
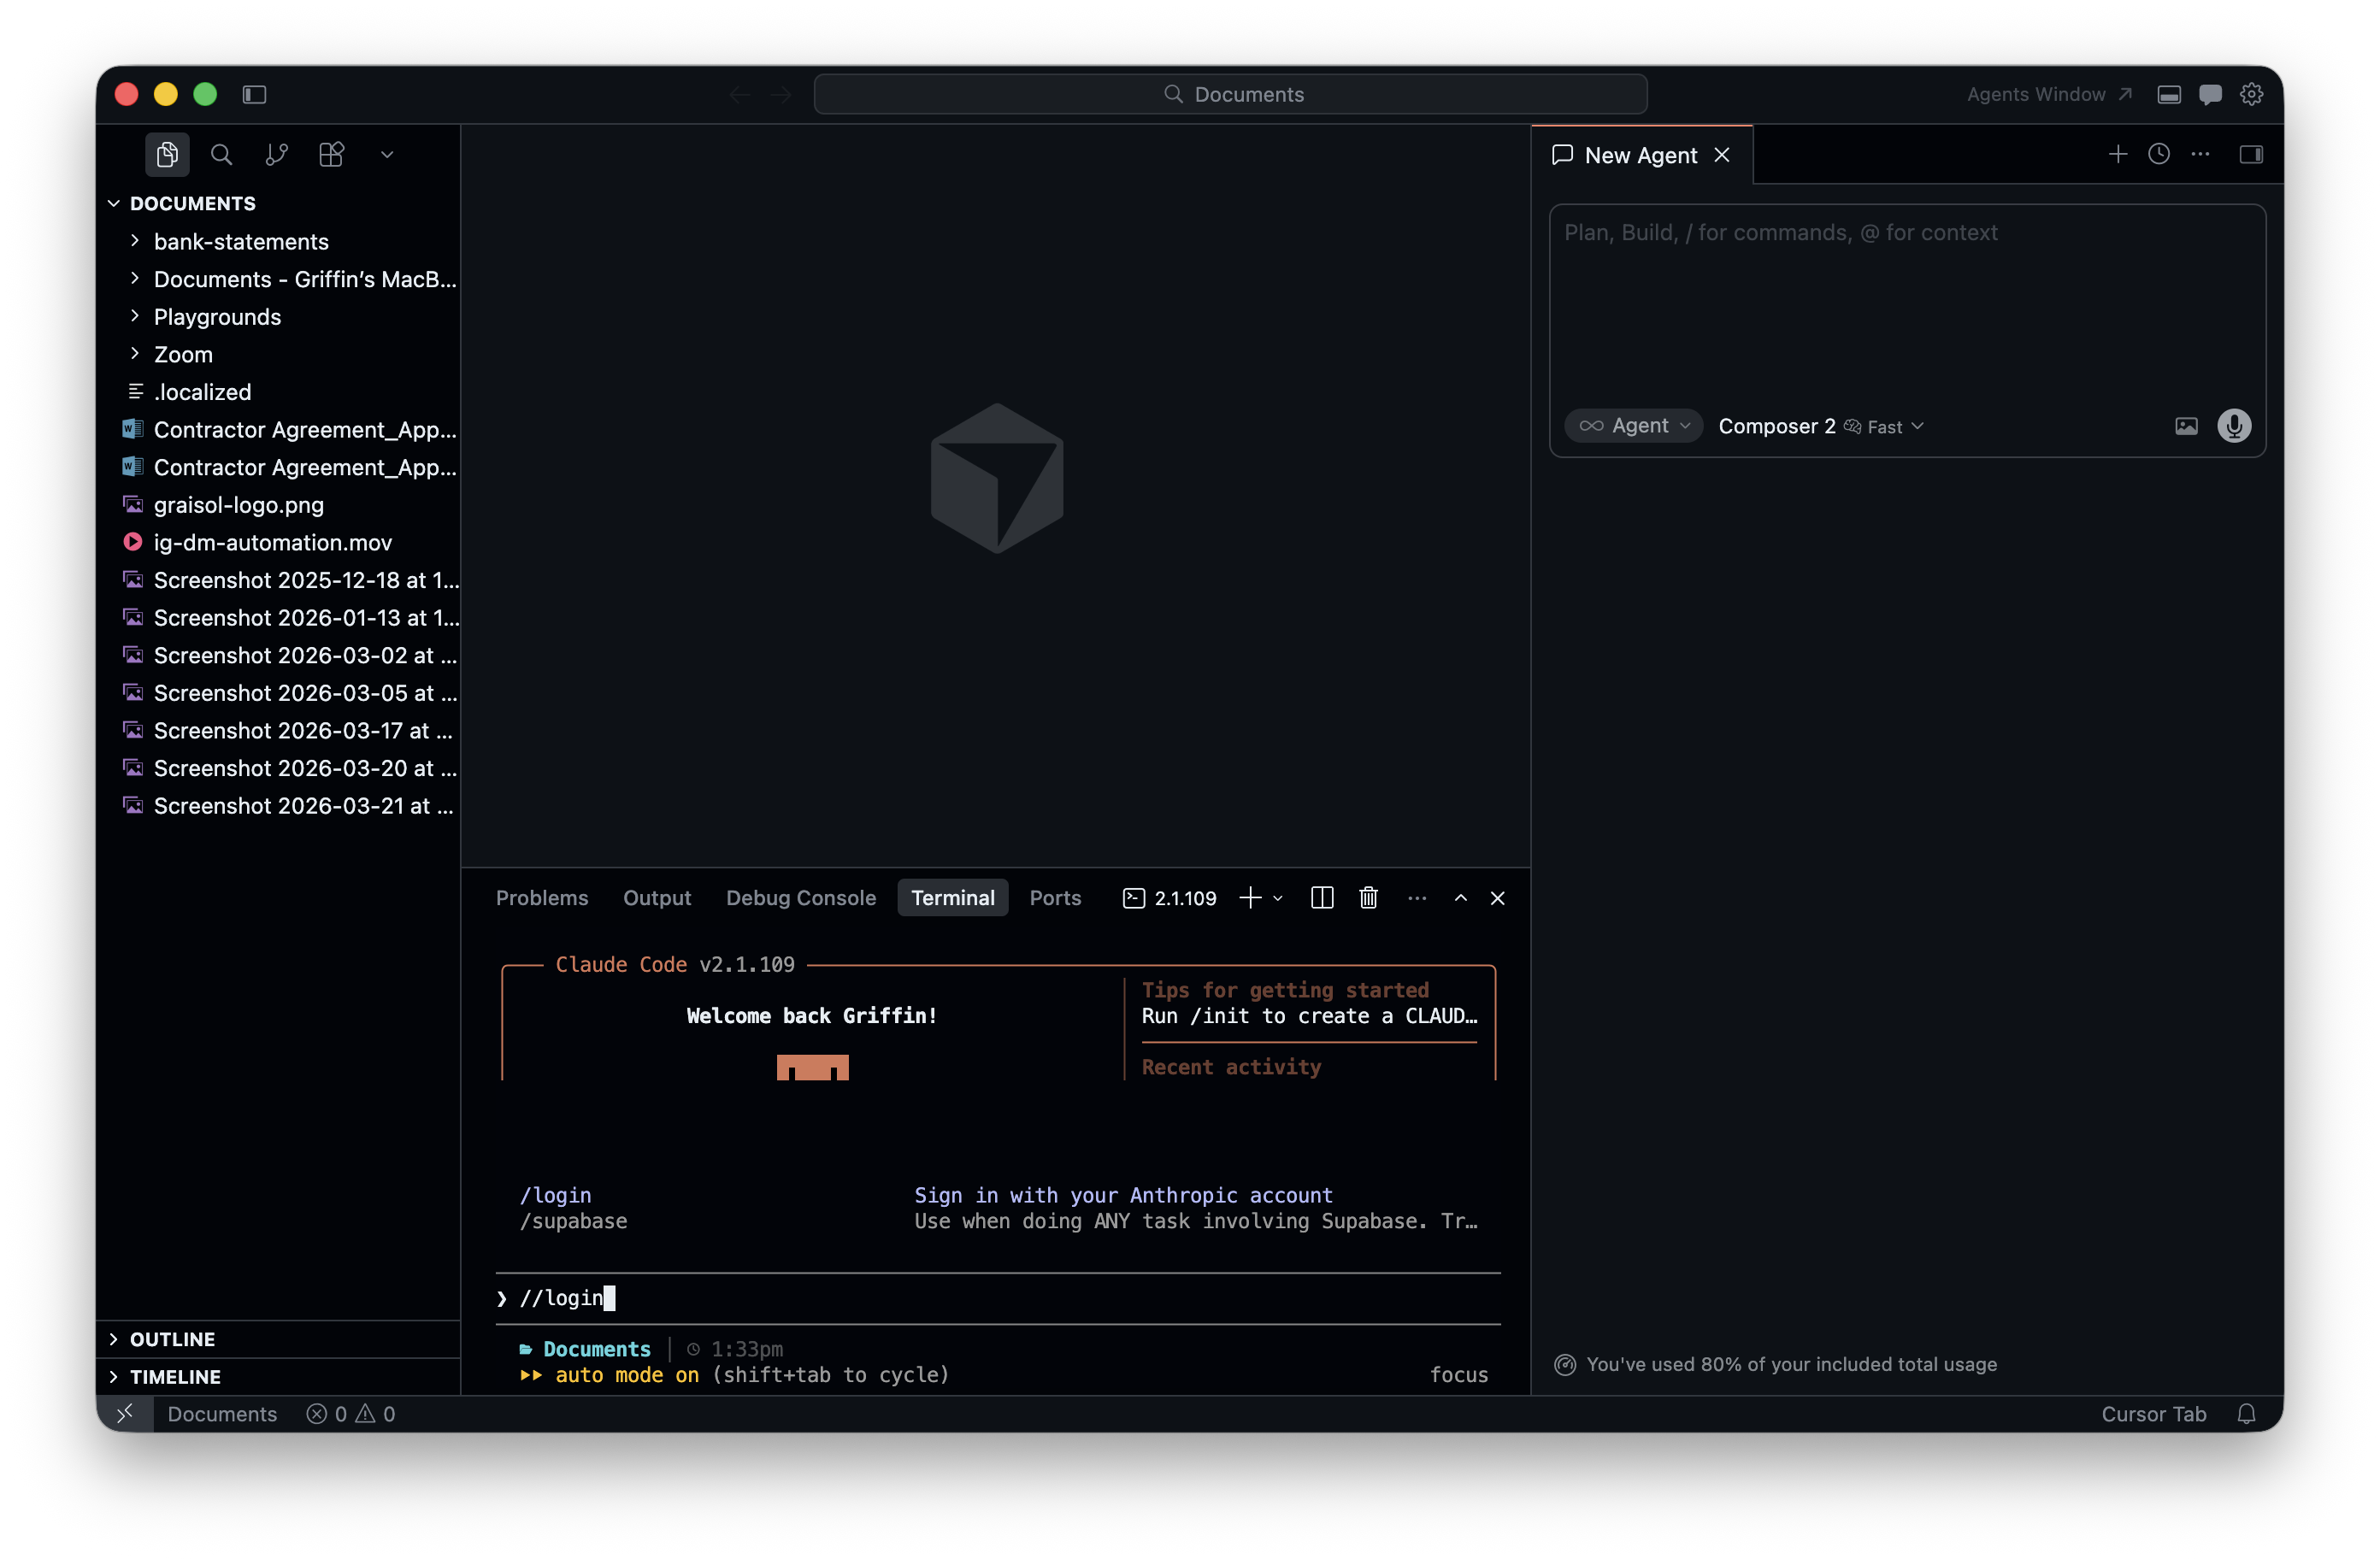
claude
Press Enter.
The first time Claude Code starts, it prompts you to sign in and opens your browser automatically. Use the same Claude account with your Pro/Max/Team/Enterprise subscription. Authorize the app when prompted, then close the browser tab when you see a confirmation message and return to your terminal.
If Claude Code doesn't prompt you — or you need to switch accounts later — type the following command inside the Claude Code prompt and press Enter to kick off the sign-in flow manually:
/login
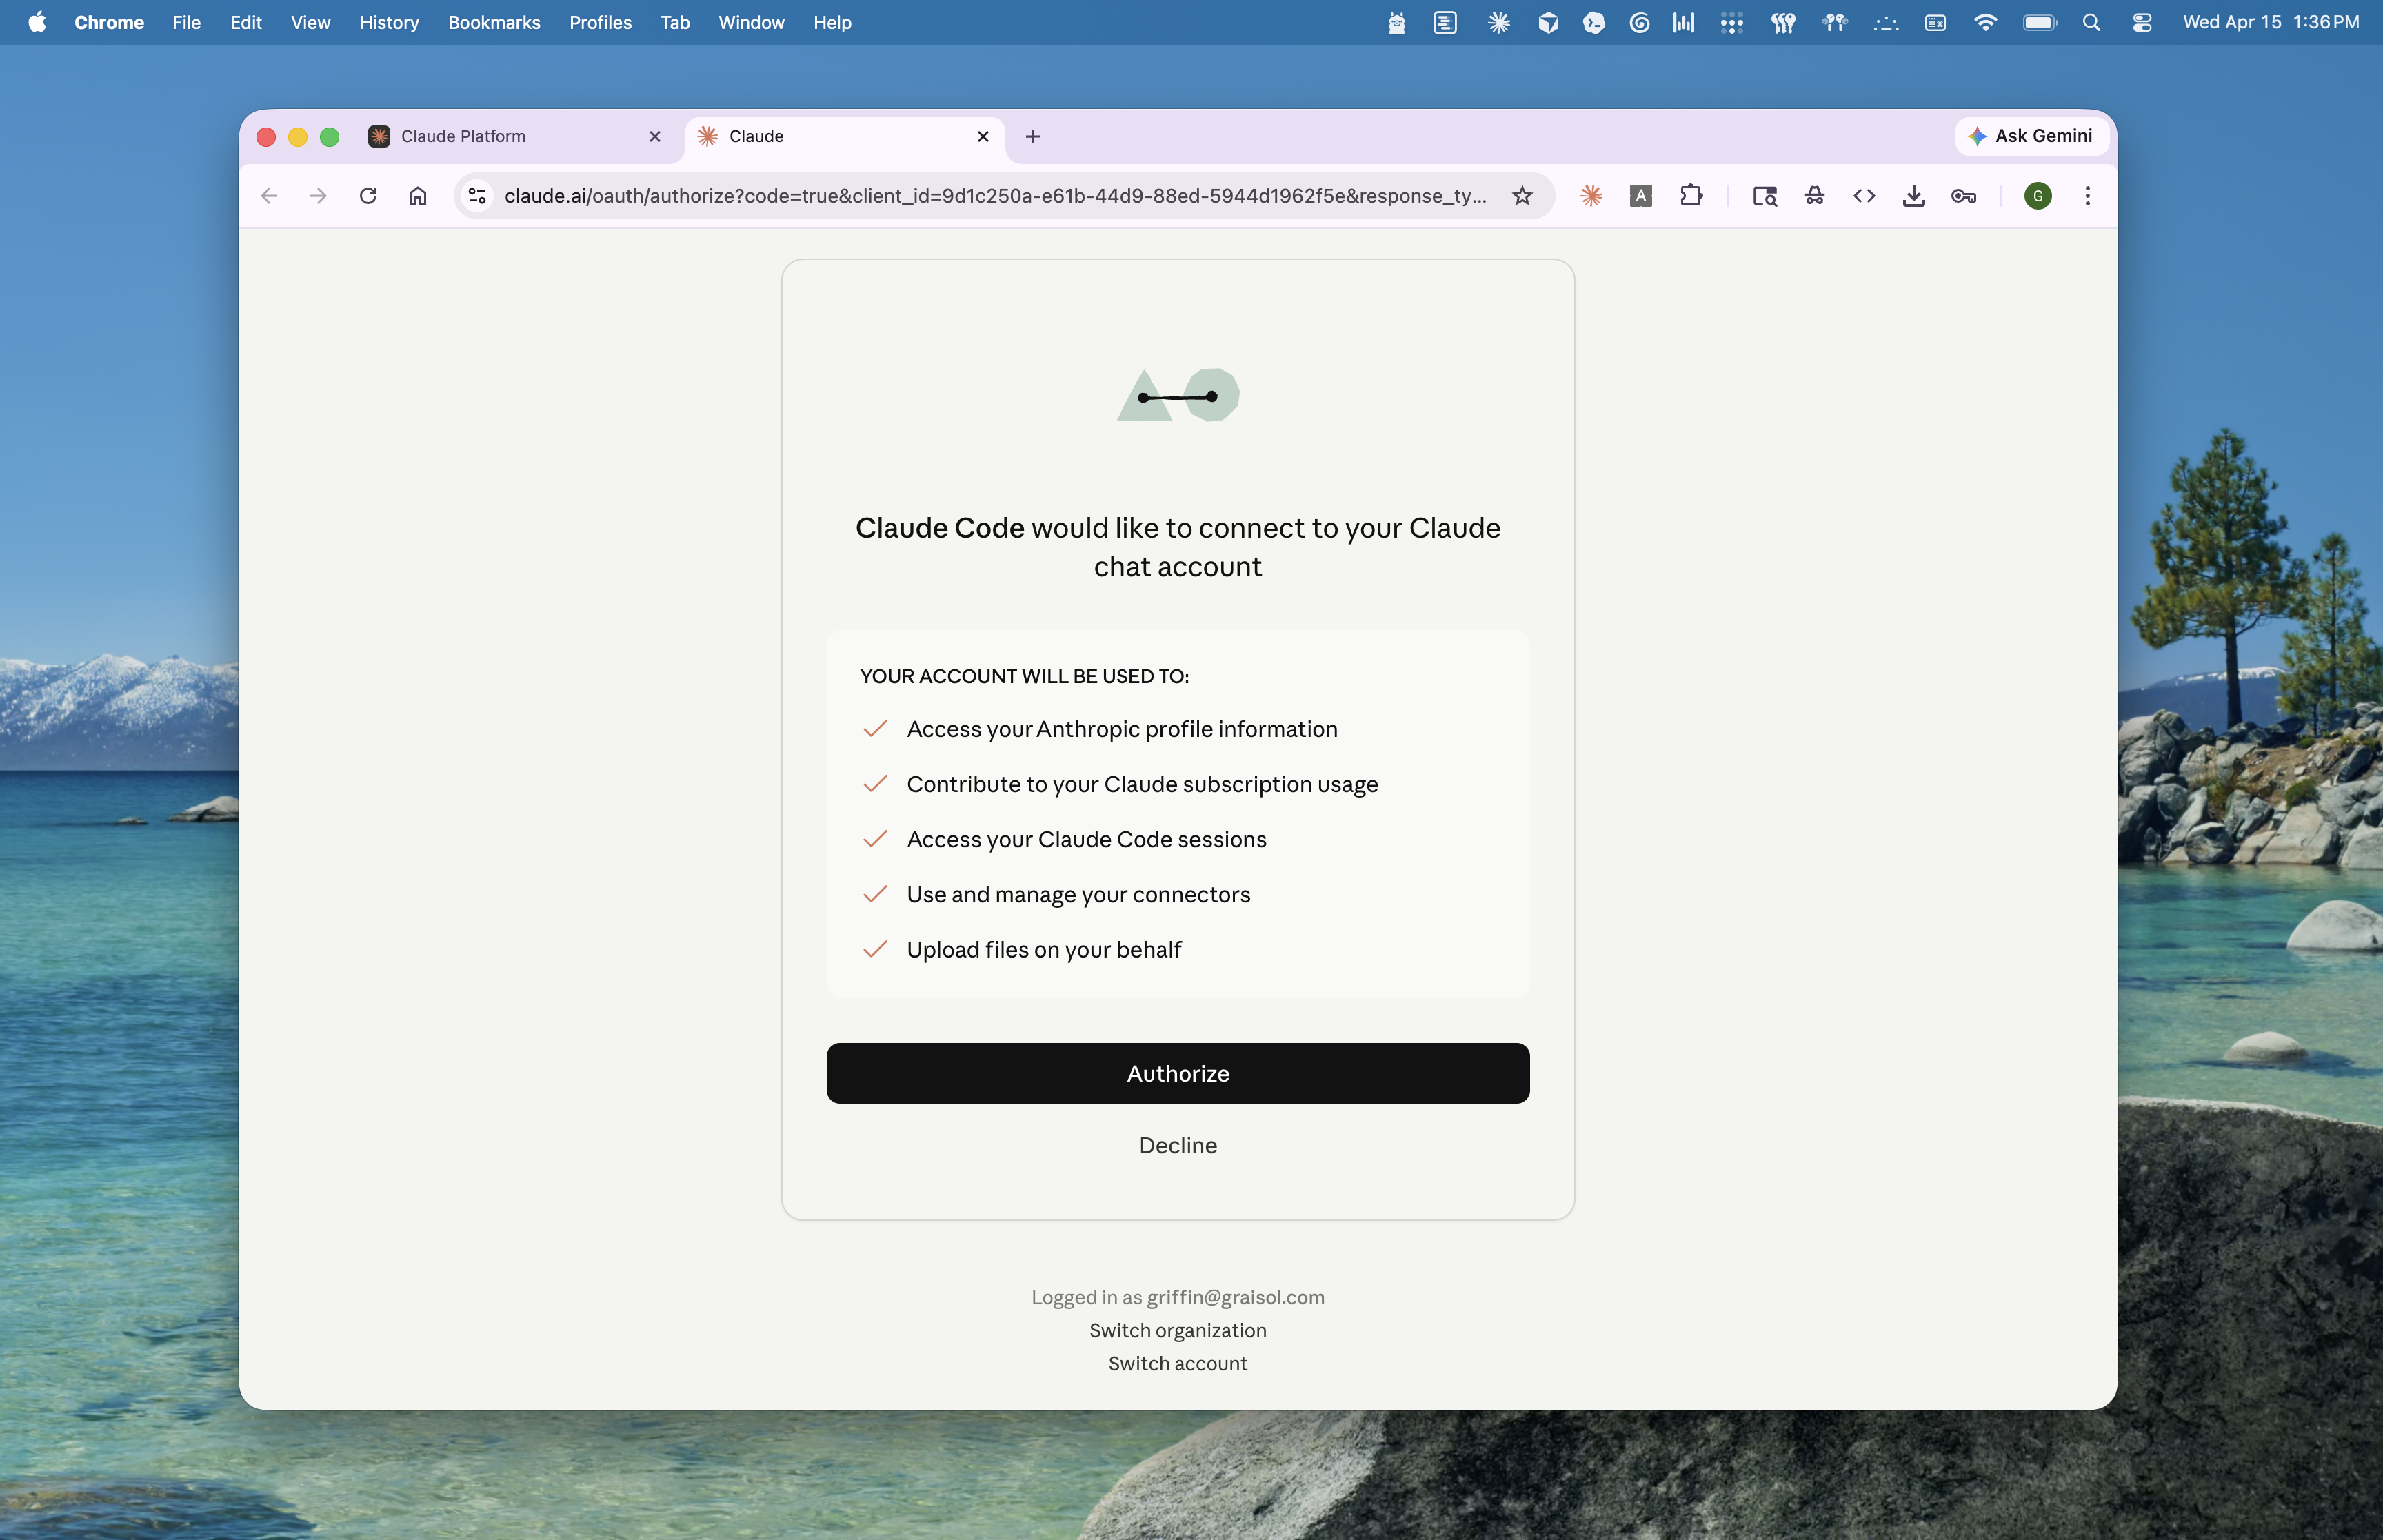
Heads up: If sign-in fails or you see a "your plan doesn't include Claude Code" message, double-check that your Claude account has a qualifying subscription. Free accounts and legacy plans don't include Claude Code access — upgrade at claude.ai/upgrade and try again.
Once you're authenticated, you're back at Claude Code's interactive prompt — ready for instructions. Try something simple:
Hi Claude! I just installed you. Can you list the files in this folder and tell me what's here?
Press Enter. Claude Code reads your project folder and responds.
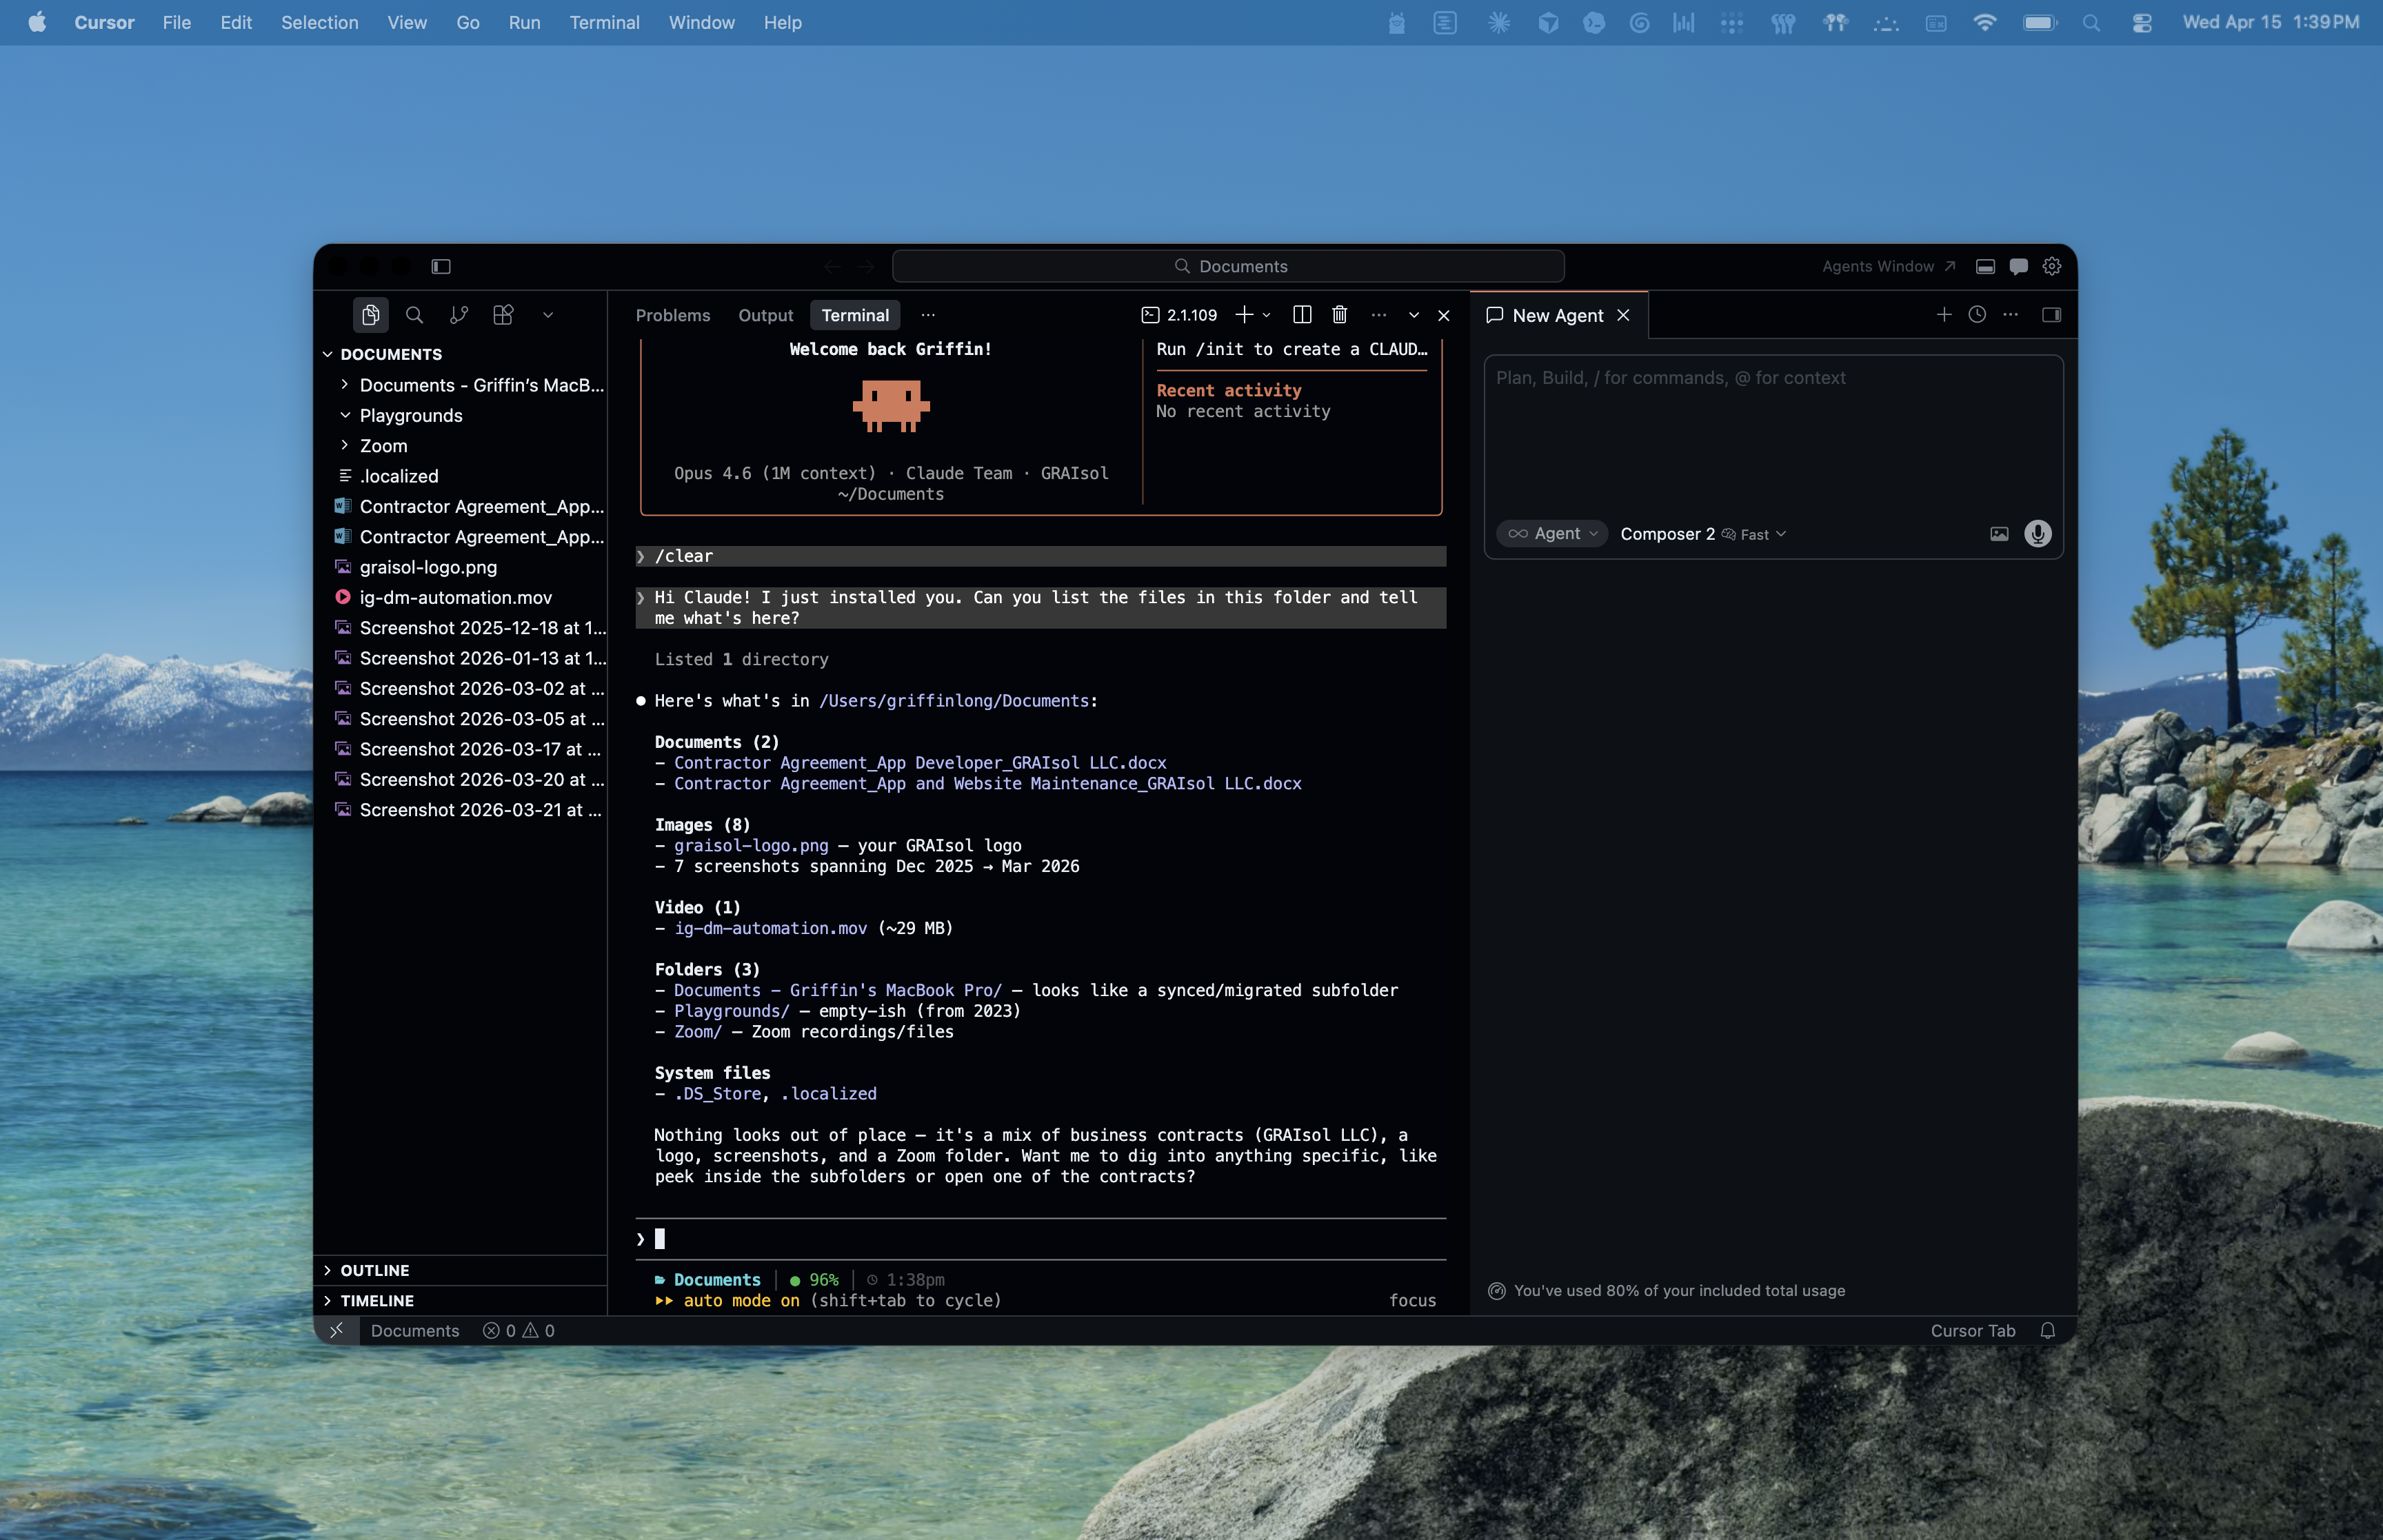
Congratulations — you're officially running Claude Code. The install is done. Everything from here is learning what to ask.
Pro tip — pick the right model for the job. Claude Code can run on different Claude models (Opus, Sonnet, and Haiku), and the one you pick affects how fast you hit your plan's usage limits. Opus is the most capable but the most expensive — reserve it for heavy lifting like big refactors or tricky debugging. Sonnet is the sweet spot for most day-to-day work: fast, smart, and far cheaper on your limits. If you're on the Claude Pro or Teams Standard plan, default to Sonnet — you'll burn through your Opus allowance in an afternoon otherwise. Switch models any time with the
/modelcommand inside Claude Code.When in doubt: start with Sonnet, only reach for Opus when Sonnet is struggling.
To exit Claude Code, type /exit and press Enter, or press Ctrl+C twice.
You're technically finished — but if you plan to use Claude Code for real work, installing the GitHub CLI (gh) is a near-mandatory next step. It lets Claude Code (and you) create commits, branches, and pull requests directly from the terminal, which is how most real coding workflows operate. The total setup takes about 3 minutes.
If you're unfamiliar — GitHub is where most software source code lives online. Think "Google Drive for code." A repository (or "repo") is just a project folder that GitHub tracks. If you don't have a GitHub account, create a free one at github.com before the next step.
macOS with Homebrew:
brew install gh
macOS without Homebrew: Download the .pkg installer from cli.github.com and double-click it.
Windows:
winget install --id GitHub.cli
Linux (Ubuntu/Debian): Follow the four-line apt setup at cli.github.com — the commands there are copy-pasteable and kept up to date.
gh --version
You should see a version string. If not, close and reopen your terminal, then try again.
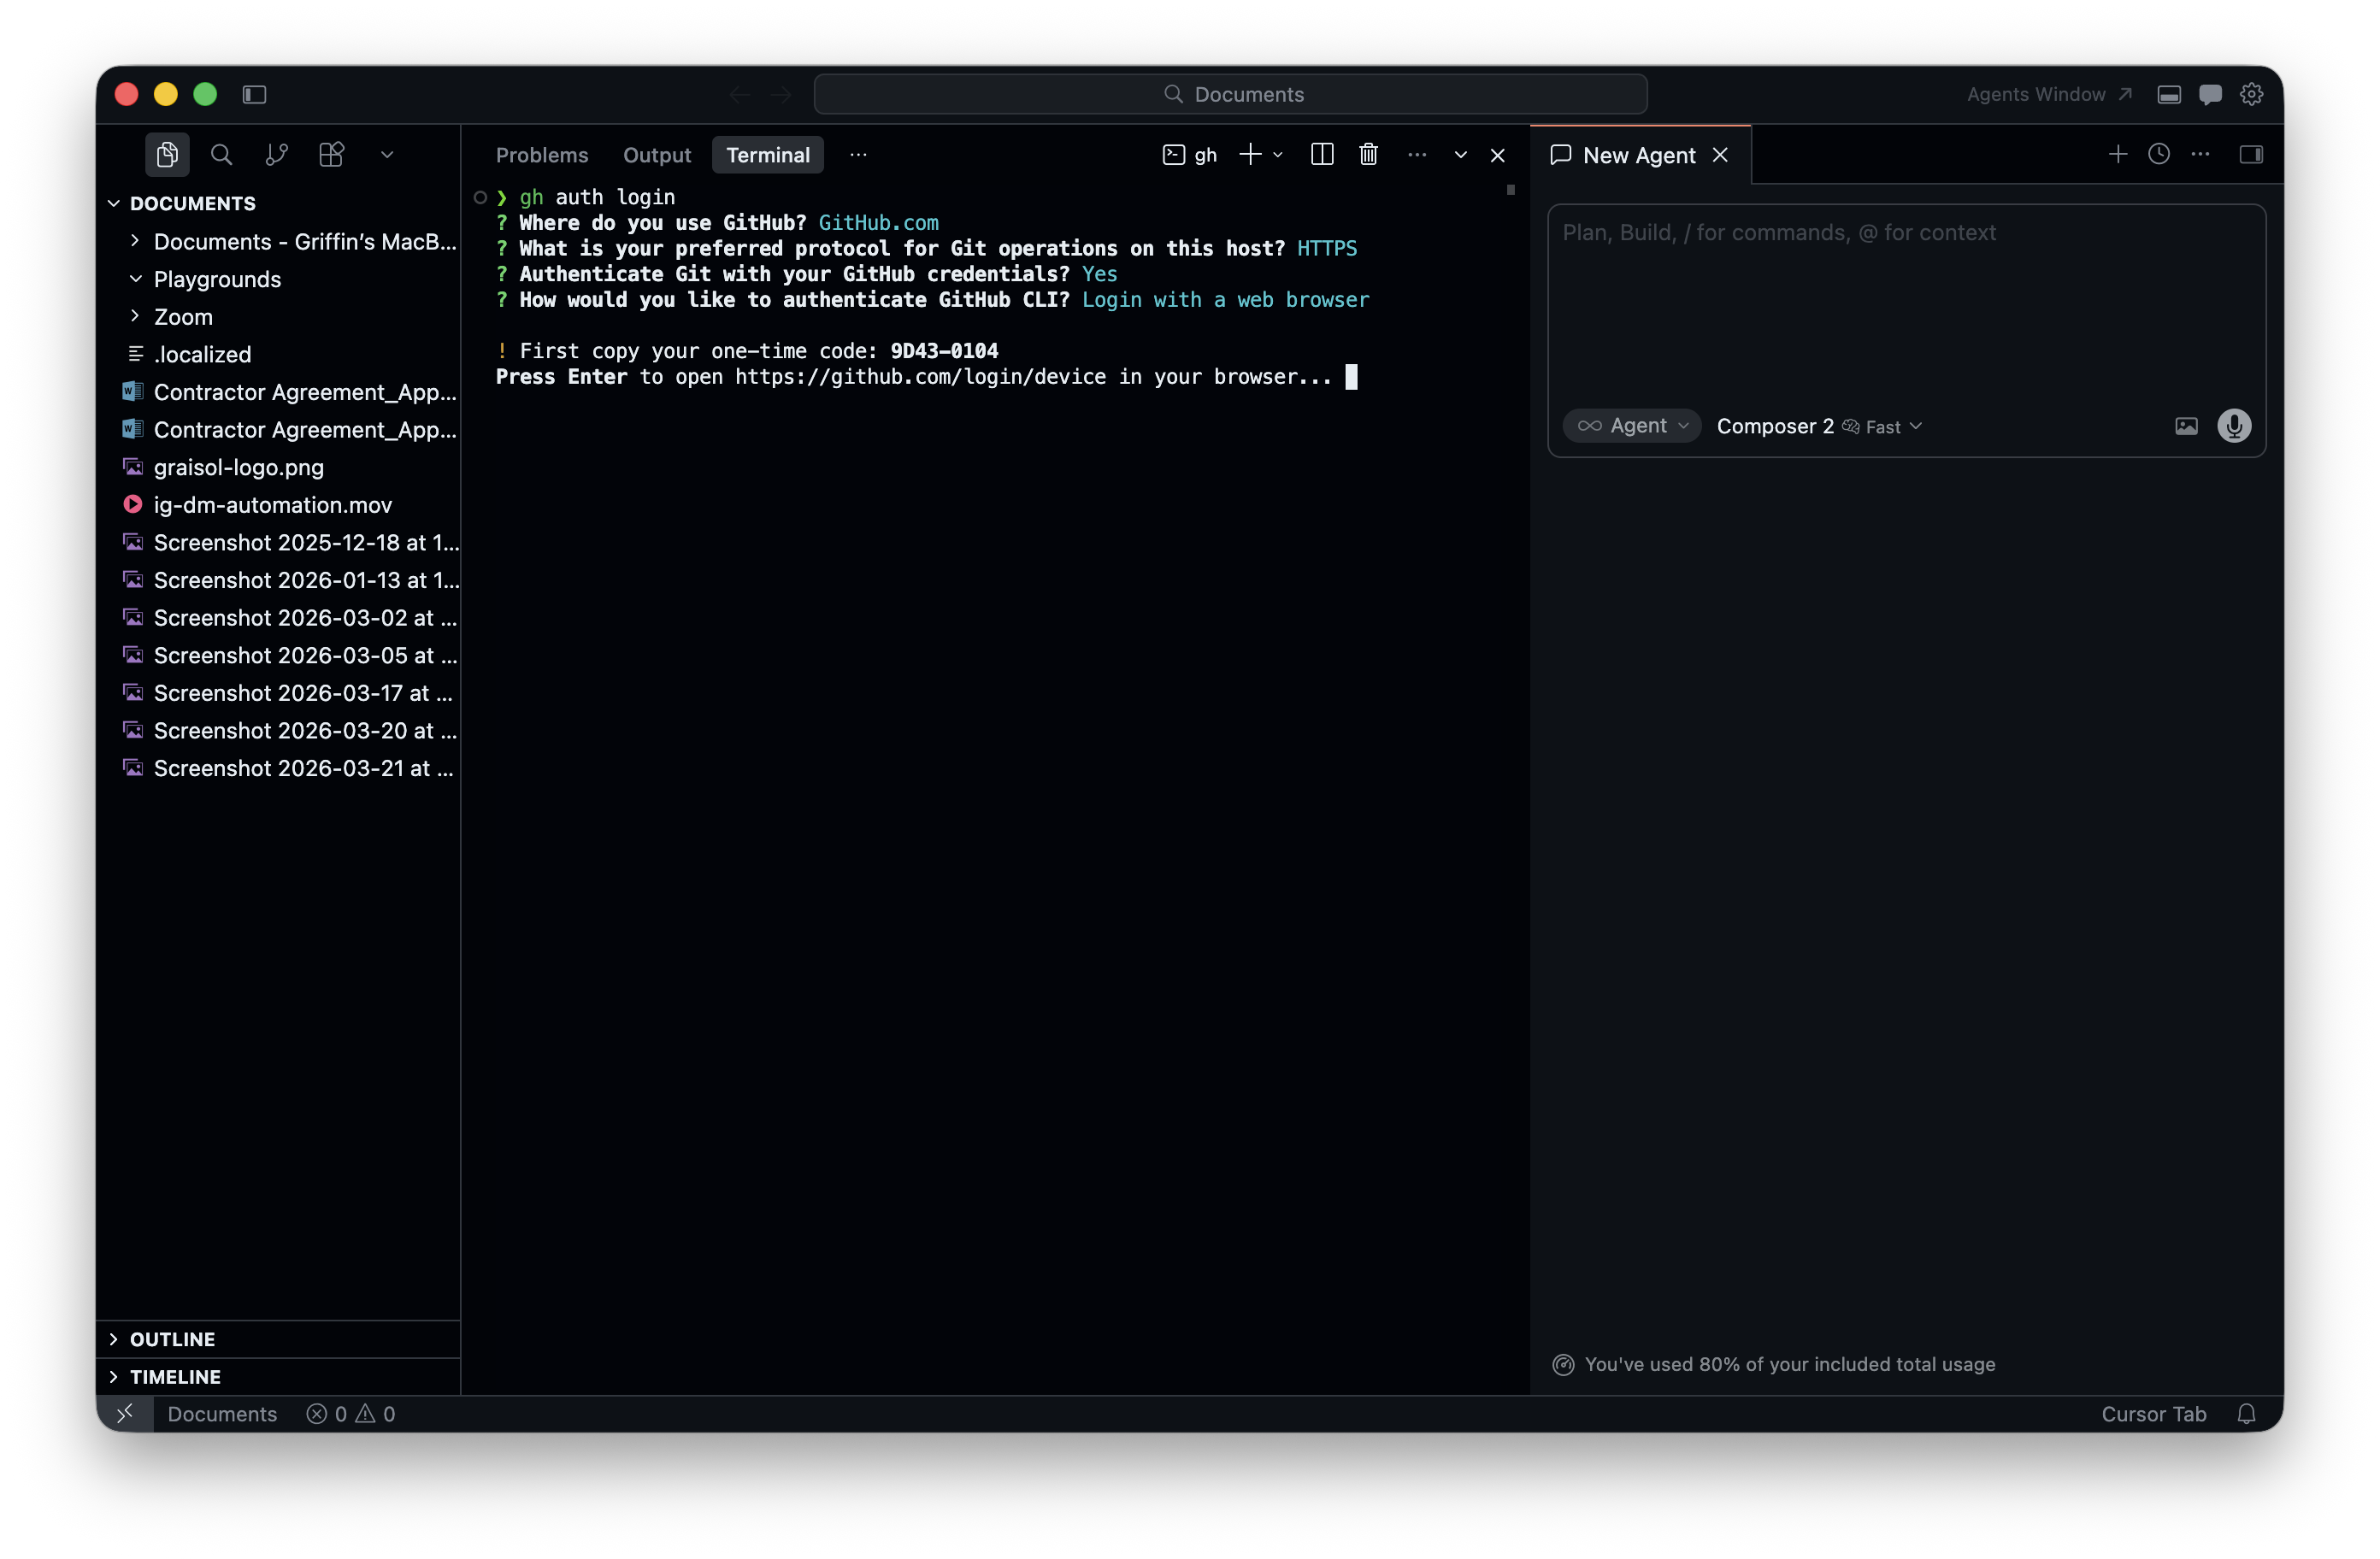
gh auth loginRun:
gh auth login
You'll be asked a few questions. The beginner-friendly defaults:
gh prints a one-time code, opens your browser, and asks you to paste the code. Paste it, authorize the app, and come back to your terminal. You're logged in.
Claude Code can now help you create commits and pull requests the same way it helps you write code.
If something goes sideways, here's a list of the most common first-time stumbles and what to do about them.
First try: Close your terminal window entirely, open a fresh one, and run claude --version again. This catches the majority of "command not found" errors right after an install. Your terminal reads PATH settings only when it starts, so a new command isn't visible until you open a new window.
Quick sidebar — what's PATH? PATH is a list of folders your terminal checks whenever you type a command. If claude is installed but its folder isn't on your PATH, your terminal answers "I don't know that command" even though the file is sitting right there on your computer.
If a fresh terminal didn't fix it (macOS / Linux): The installer puts claude in the folder ~/.local/bin, and your shell sometimes doesn't know to look there yet. Add it to PATH permanently by running these three commands, one at a time, in your terminal:
echo 'export PATH="$HOME/.local/bin:$PATH"' >> ~/.zshrc
source ~/.zshrc
claude --version
If you see a version number after the third command, you're fixed. If you get an error about ~/.zshrc not existing, you're probably on the older bash shell — swap both ~/.zshrc references for ~/.bashrc and run the commands again. (Unsure which shell you're on? Run echo $SHELL and look at the last word after the final slash.)
If a fresh terminal didn't fix it (Windows): Close all PowerShell windows (not just the one you were using), then open a new one. If that still doesn't work, restart your computer — this forces Windows to reread its environment settings.
Check that your internet connection is alive and you're not on a corporate VPN that blocks script downloads. If you are, try the alternative install methods above (brew, winget, or npm).
This is the classic EACCES error. It means npm is trying to write to a system folder it doesn't have permission for. The easy fix: don't use the npm method. Use the native installer at the top of Step 3 instead — it installs to your home directory and avoids the permission issue entirely.
Some setups (especially Linux servers, VMs, or locked-down work laptops) don't have a default browser wired up to terminal commands. If the browser doesn't open, Claude Code prints a URL you can copy into any browser manually — including one on a different device.
You're signed in with a free Claude.ai account or a plan tier that doesn't include Claude Code. Upgrade to Pro, Max, Team, or Enterprise at claude.ai/upgrade and run claude again.
gh auth login keeps failingConfirm you're picking HTTPS and Login with a web browser. If your browser auto-fills an old GitHub account, log out of GitHub in the browser first, then retry.
If you've tried the fresh-terminal trick and you're still getting errors, the Anthropic community forum and GitHub issues for anthropics/claude-code are both active and helpful. Paste the exact error message — don't paraphrase.
You've got Claude Code installed, signed in, and responding to prompts. What now?
cd into a folder and run claude. That's the whole workflow.Remember: the install is the hardest part, and you just finished it. Everything from here is practice.
Want a hands-on walkthrough for you or your team? Book a call and we'll personally help you roll Claude Code out and build it into your workflows.
More writing
The complete beginner's guide to ChatGPT - from your first conversation to advanced techniques that will transform how you work and learn.
Read →Master broad prompting techniques to unlock comprehensive, multi-dimensional responses from AI. Learn how asking 'What else?' can transform your AI interactions.
Read →Master the art of meta prompting - the advanced technique where AI creates, optimizes, and executes its own prompts for unprecedented results.
Read →